Learning by Repairing: Inside a Simple Pump Control Panel
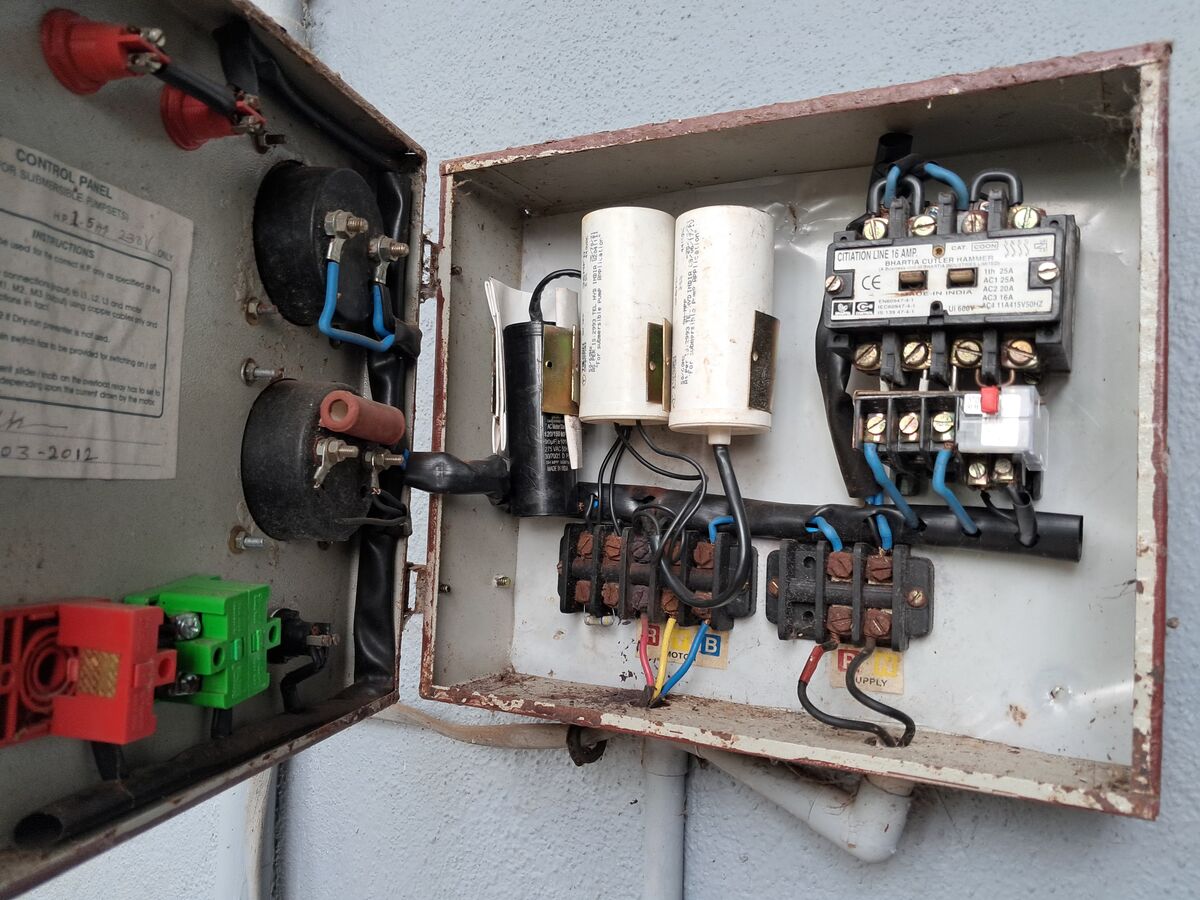
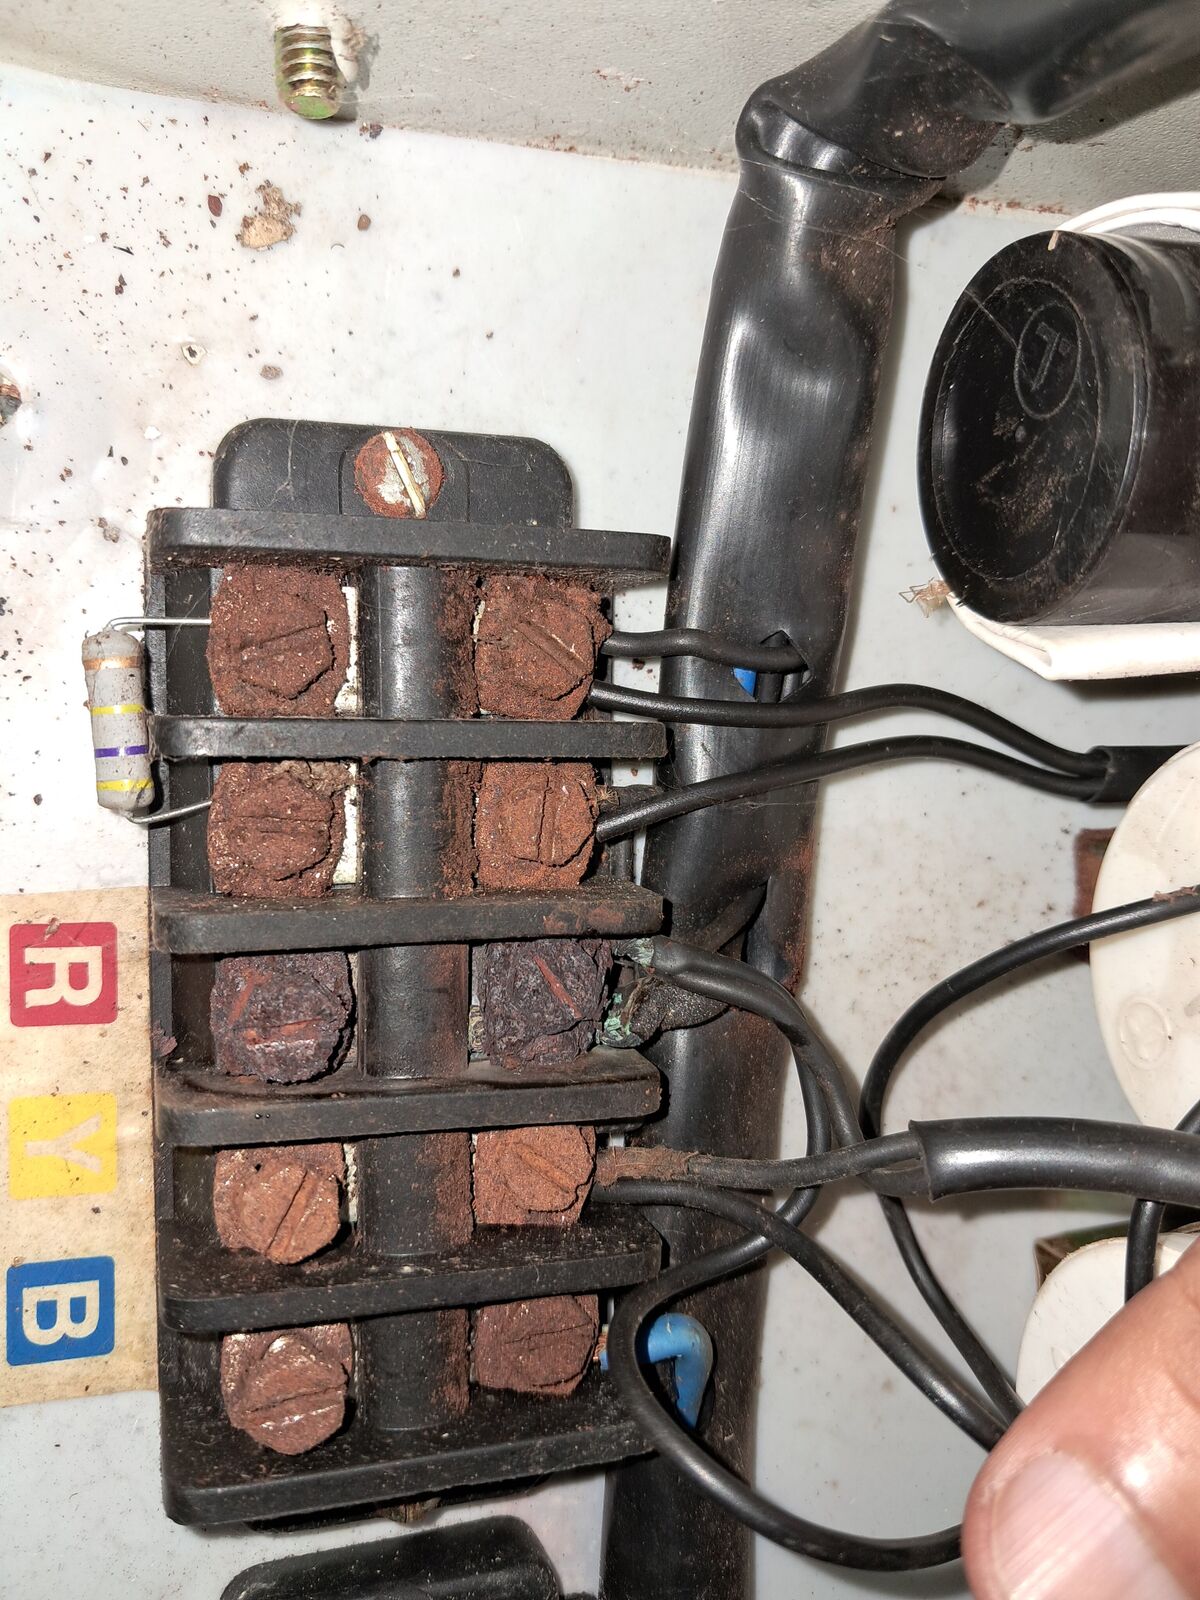
Yesterday, I opened the control panel for our borewell pump after its power plug started showing signs of melting. On closer inspection, the socket had developed minor cracks, so I decided to replace the socket and plug top. While doing that, I opened the control panel just to be safe and noticed heavy rusting on the terminal connectors.
My first instinct was to either clean it thoroughly or replace the entire starter panel. Cleaning seemed tricky; AI suggested using a contact cleaner, which I didn’t have, and I wasn’t sure it would restore the terminals properly anyway.
But curiosity got the better of me.
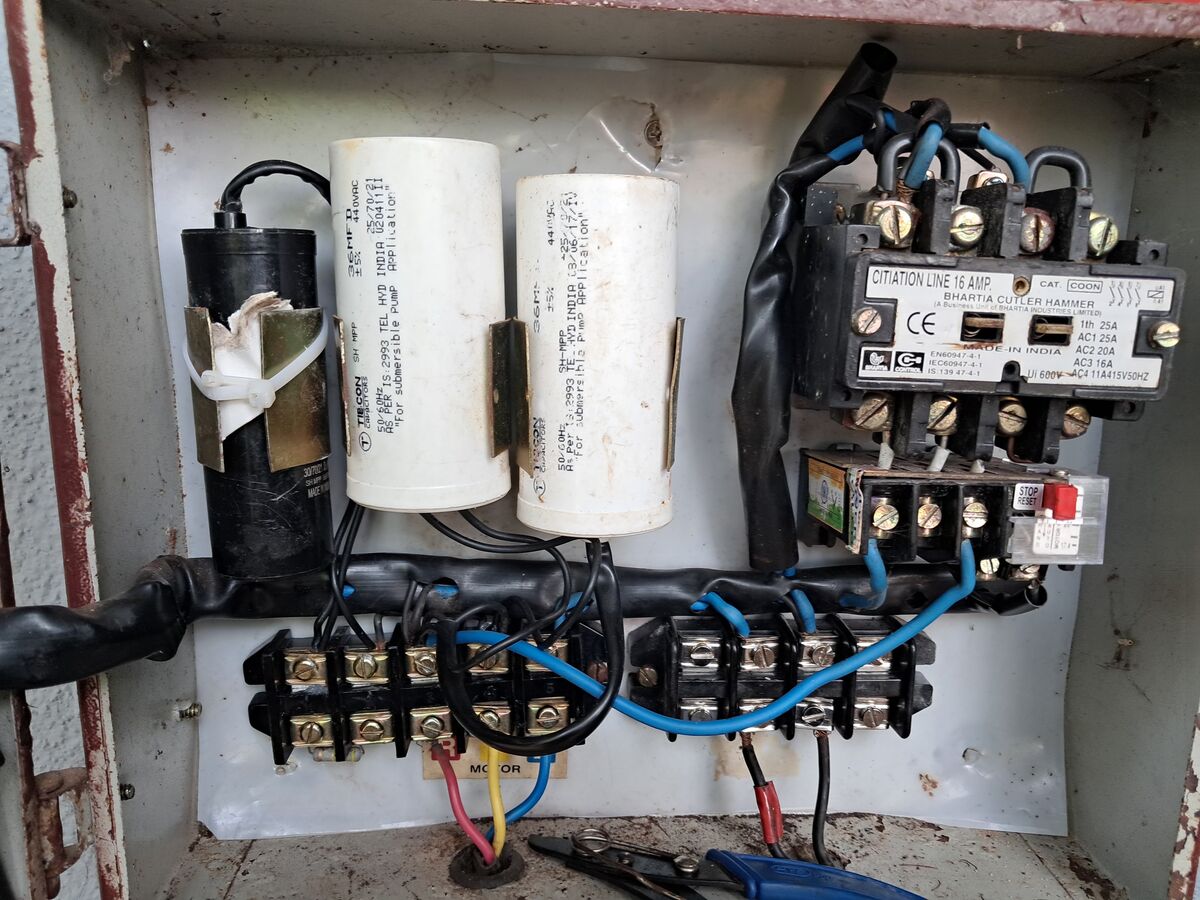
With some guidance from AI, I slowly began understanding what was inside the panel: a contactor, a few capacitors, a relay, and terminal strips. No electronics, no circuit boards — just a handful of electromechanical components working together to start and protect the motor.
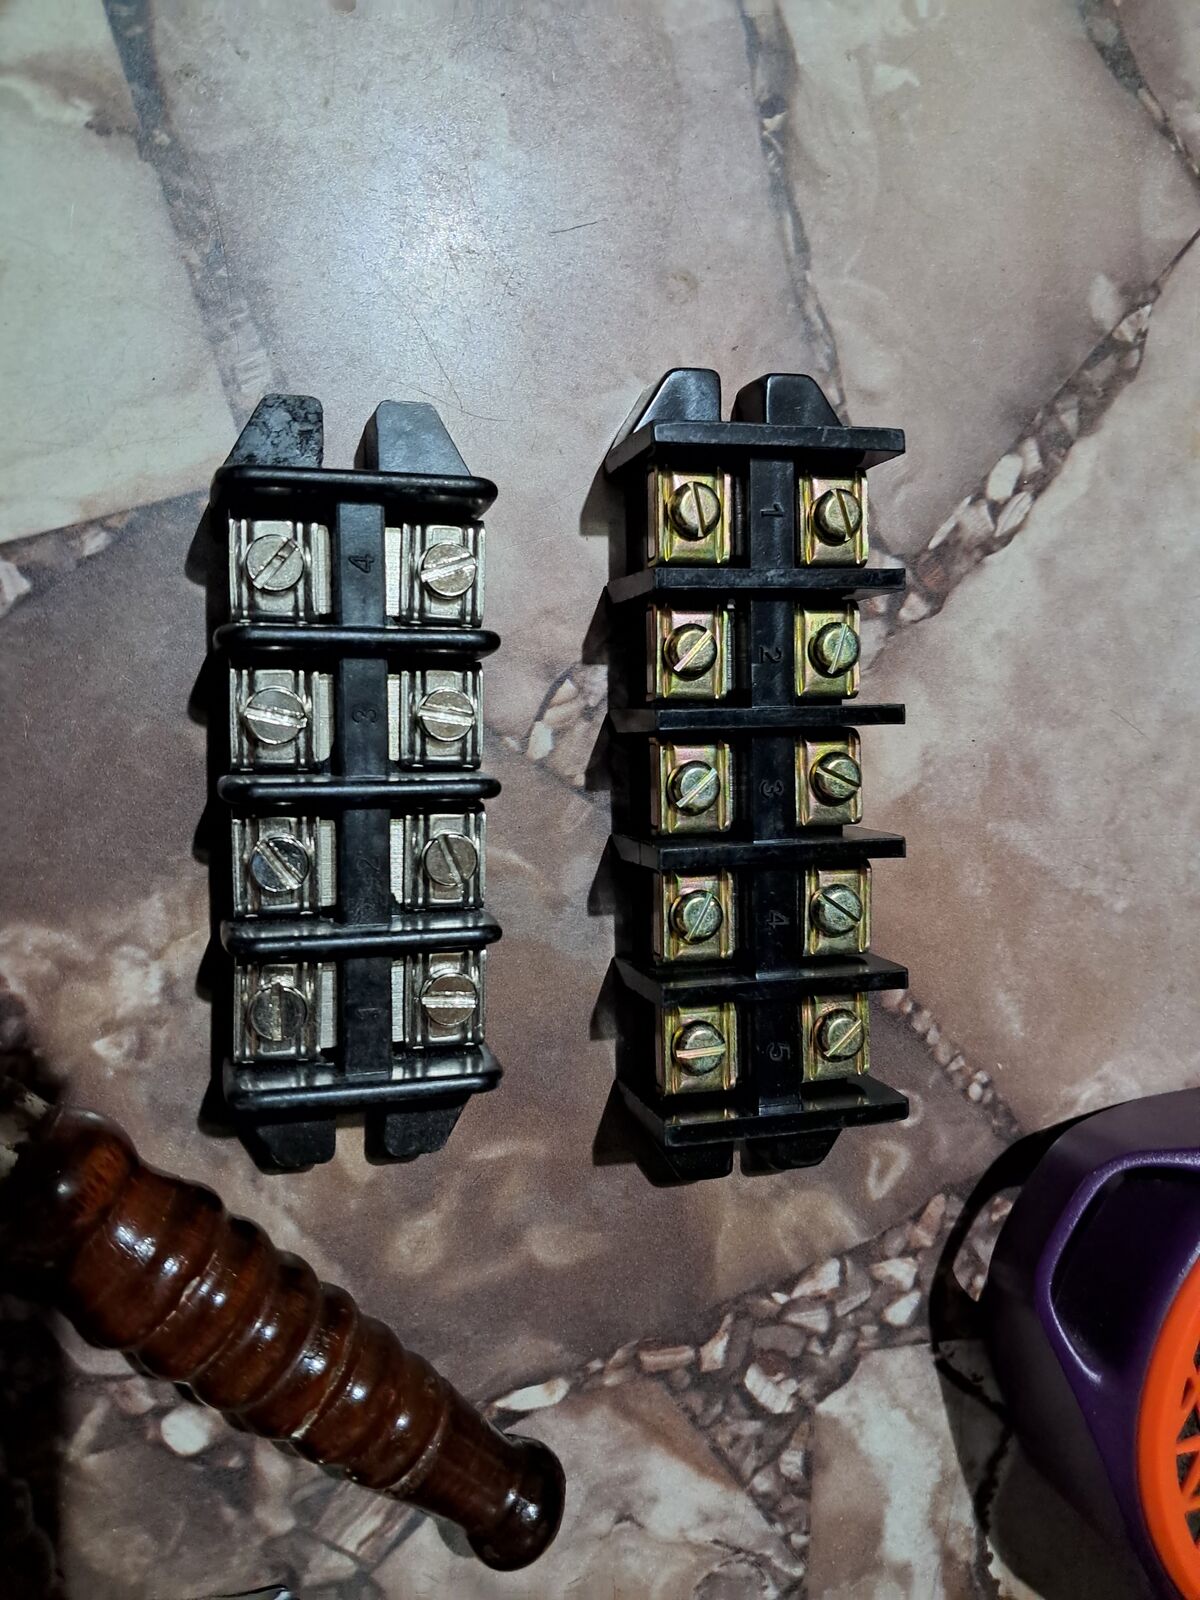
To be honest, I didn’t know much about this type of system. I wasn’t even aware that terminal strips were available as replaceable components. Fortunately, I was able to find them at a local electrical shop.
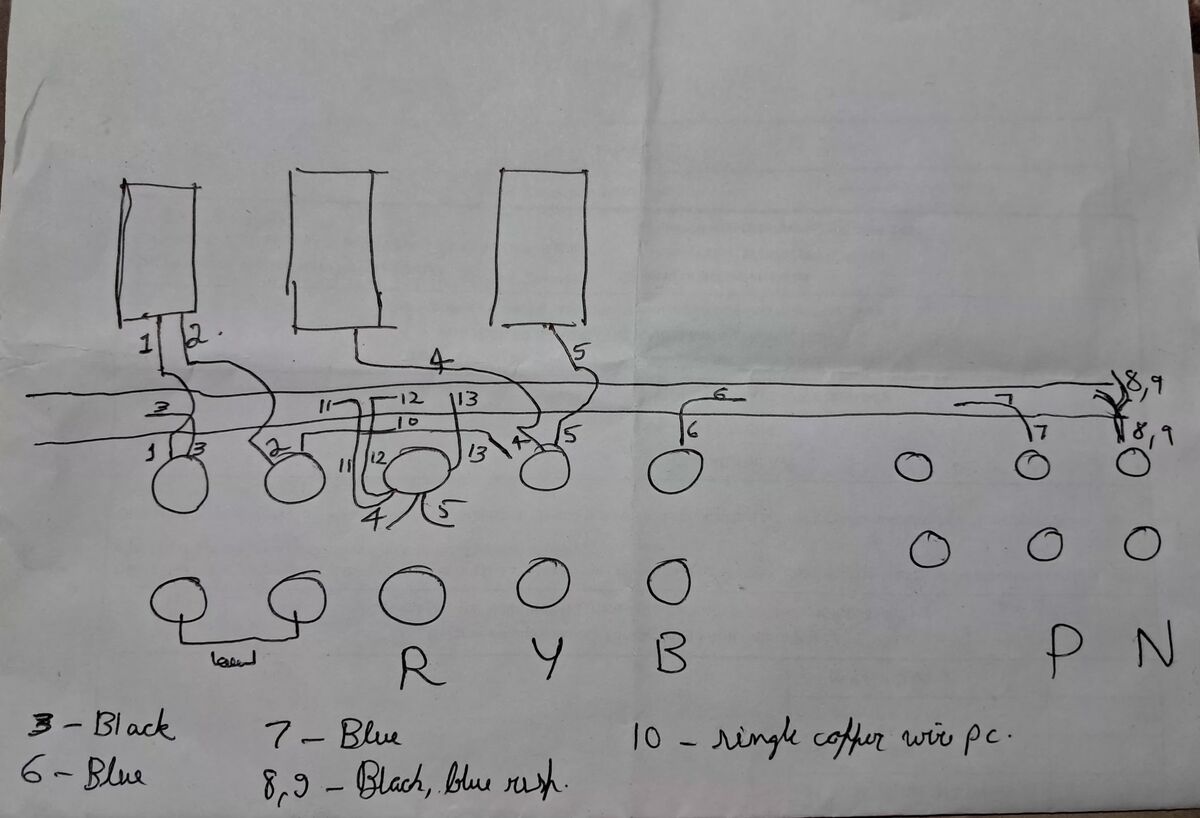
Before touching anything, I sketched a quick wiring diagram and labeled the connections in my own way (I still need to learn the standard way!).
Then I worked through the repair step by step — replacing the corroded terminal strips, securing a loose capacitor, and cleaning up the wiring.
At one point, I ran into a badly stuck screw with about six wires connected to it, one of which was heavily oxidized. Anti-rust spray didn’t help, and I eventually had to cut the wires free.
Since the wires were inside a concealed tube, I couldn’t easily trace where they came from. Opening the tube would have made things messy. Using the multimeter to run continuity tests, I traced the wires and discovered that one was connected to the contactor and another to the stop button. That helped me reconnect everything correctly.
Eventually, the panel came back to life.
What struck me most was how repairable the entire system is. Every component can be replaced individually, and once you take a closer look, the design is surprisingly easy to understand:
- Good systems are modular.
- Failures are visible.
- Small components can be repaired without replacing everything.
Sometimes curiosity and a willingness to learn is all it takes to fix something that initially looks complicated.
- Total hit on the pocket: ₹420.
- Replacing the entire control panel would have cost around ₹3000.