Building a Heavy-Duty Extension Box: 4 Wiring Tips
Commercial plastic extension boards are practically disposable. A couple of minor drops on a concrete floor, and the brittle internal plastic standoffs crack, leaving 220V live terminals floating loose inside a flimsy shell.
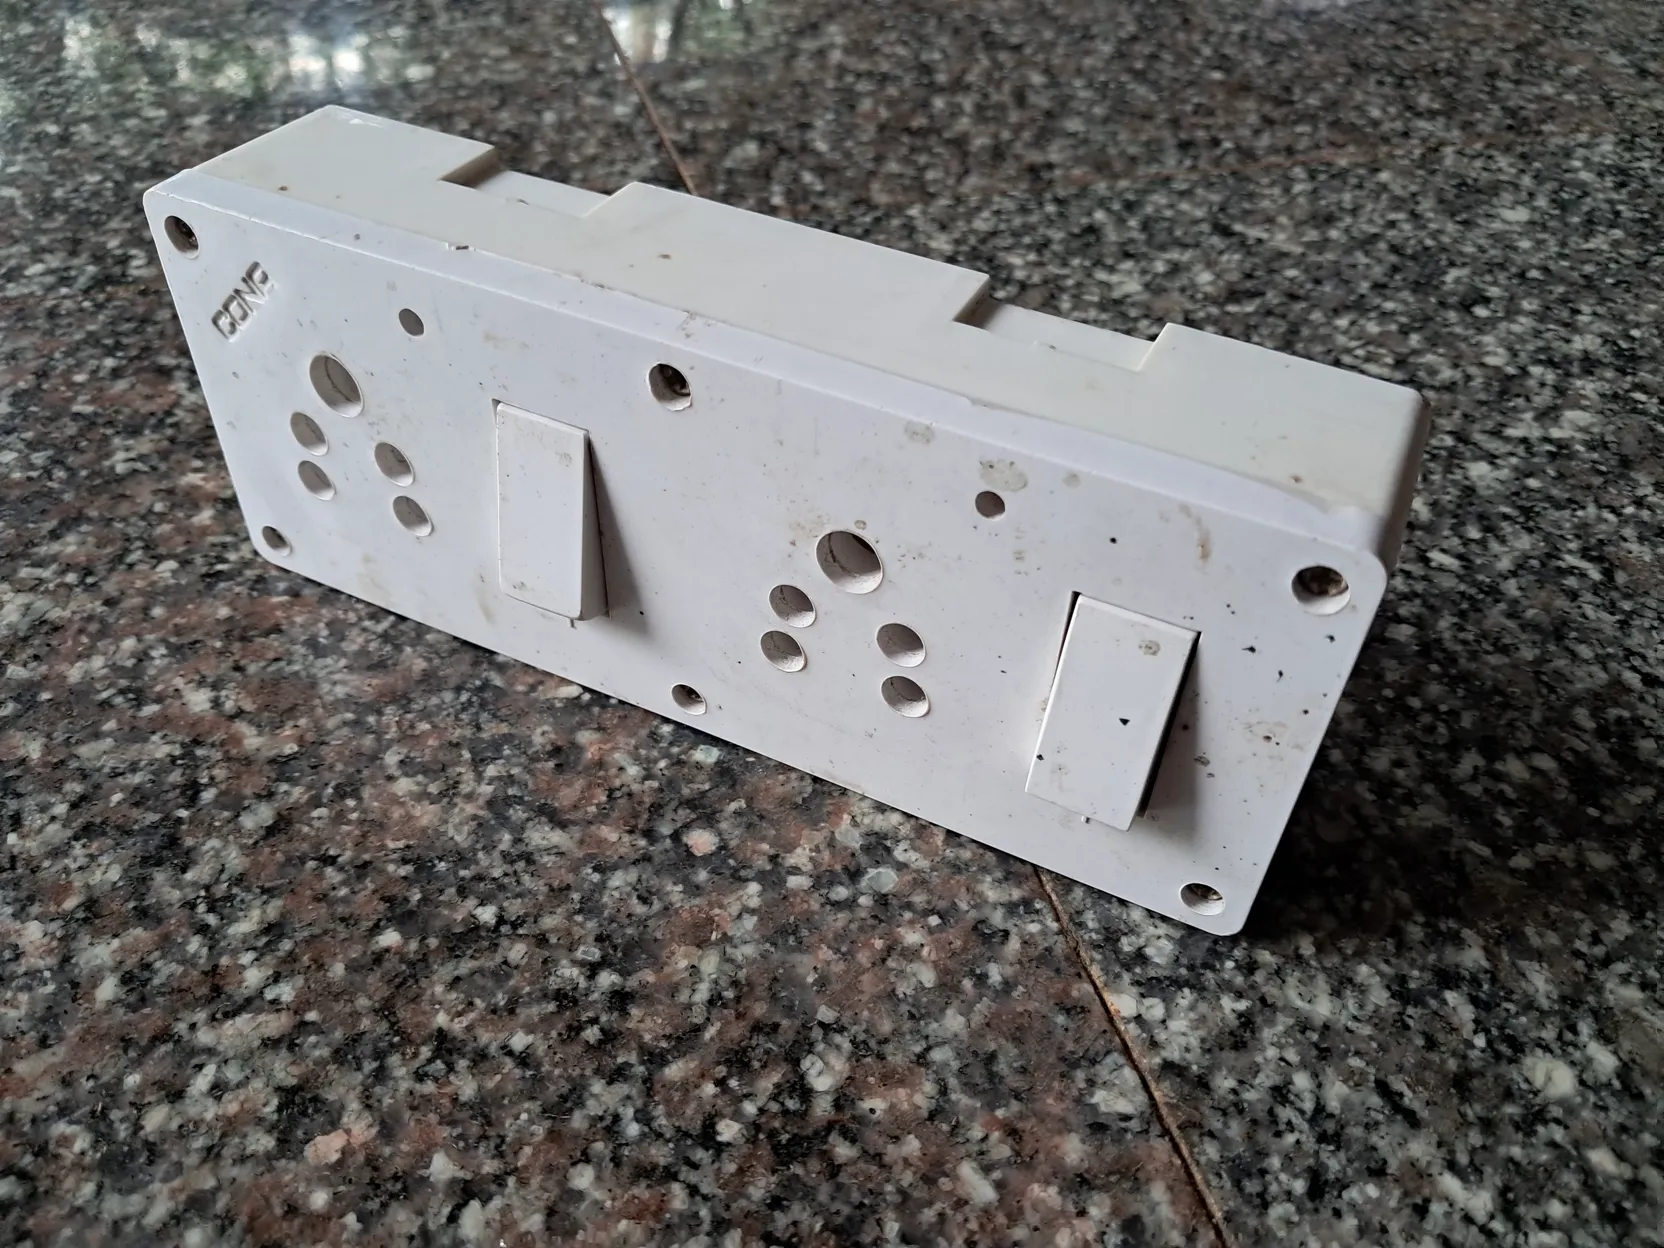
Electrical shops readily stock boards like the one that broke. A wooden one like this has to be made to order, but it fixes the durability problem outright. Real safety, though, comes down to mechanical details most basic diagrams overlook.
Past wiring jobs I’ve pieced together from whatever YouTube tutorial came closest to the job at hand. This time I worked through it with AI instead, which gave instructions specific to this box’s layout and a quick check of the wiring before anything went live.
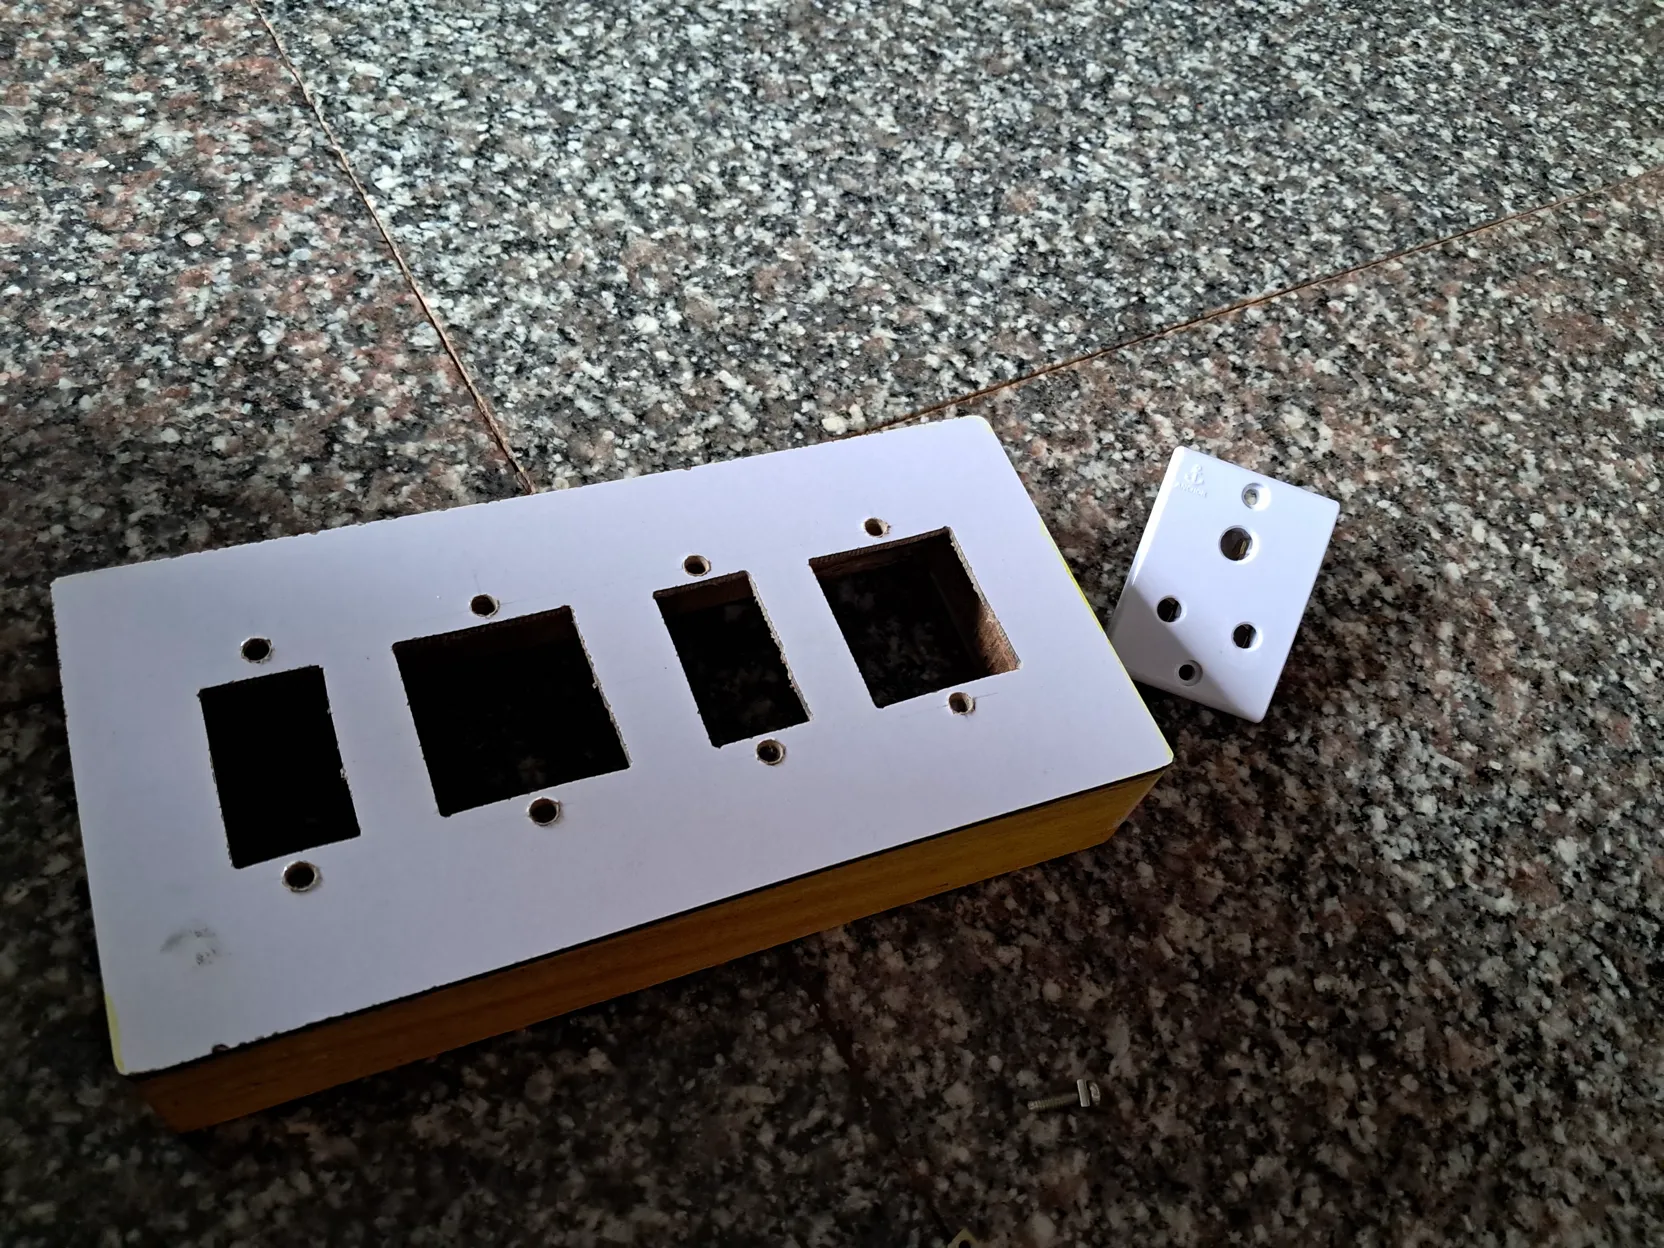
🔗Treat terminal blocks as your busbars
Avoid stripping and taping T-splices inside the box. Run direct jumper leads between the switch and socket terminals instead. Clamping inside brass terminal blocks is far more reliable and heat-resistant than insulation tape.
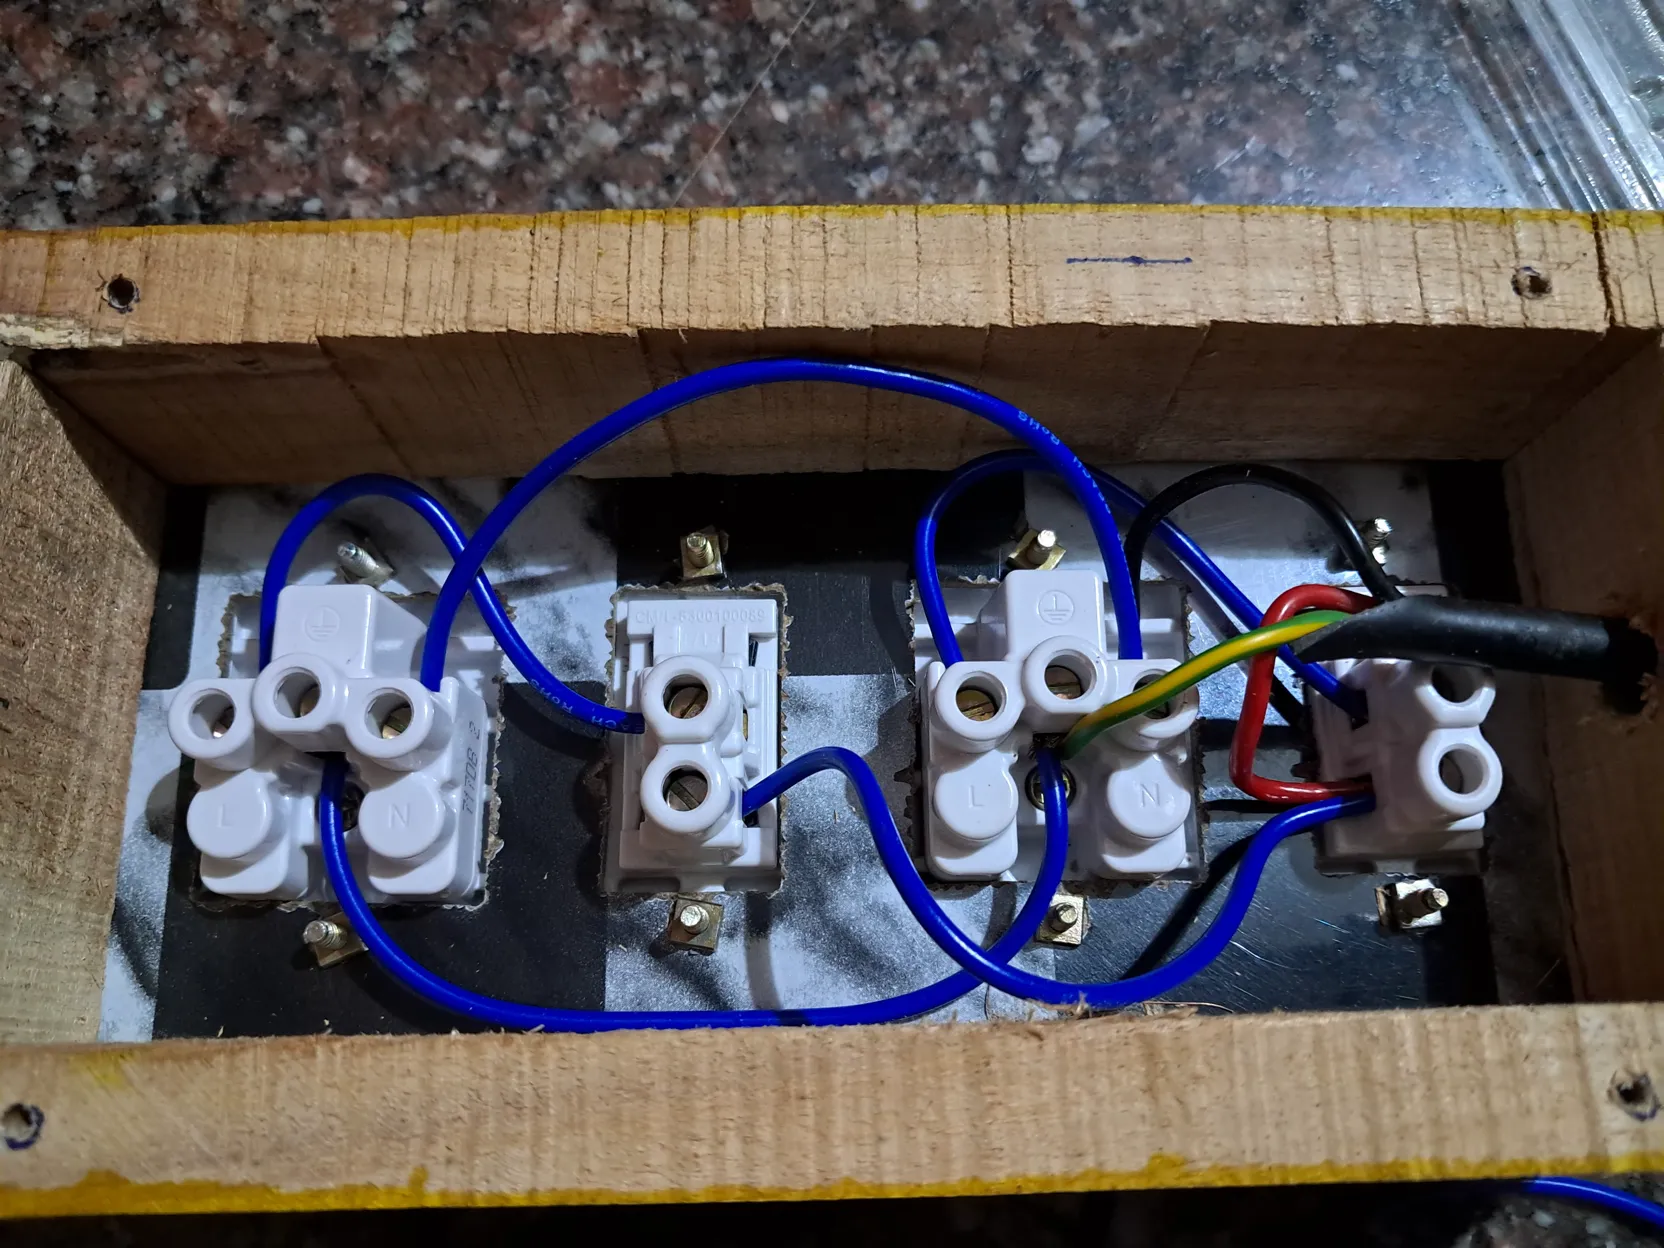
One thing I would do differently here: every jumper lead here is the same blue, since it was what I had on hand. Color-coded wire, a separate shade for line and neutral, is strongly recommended so the run stays readable at a glance instead of reading up the markings or a multimeter to tell them apart later.
🔗Strain relief is non-negotiable
When someone trips over a 10-meter extension lead, that physical force must never reach the electrical connections. Gemini pointed this one out: a tight zip-tie collar, one inside and one outside the entry hole, transfers all the pulling force to the outer wooden frame instead of the terminals. None of this is obvious unless you do this kind of wiring daily and pick it up from watching things fail.
🔗Protect the strands, and your fingers
Some of this only comes with practice. I can run a wire stripper down the insulation cleanly now, where I used to either chop off the wire end entirely or nick several strands trying to get the skin off. I went in fairly paranoid about the rest too, splayed copper strands puncturing a finger or bridging a terminal gap. Again, Gemini guided me to twist the fine strands neatly by hand, bring the jumper and the main wire together, bend the twisted end back on itself, and tuck it into the terminal before tightening the screw down.
🔗Master the over-under coil
Long 3-core cables retain strong mechanical memory. Coiling the cable around your arm introduces continuous twists that kink the sheath permanently. An alternating over-under wrap neutralizes that internal torque, keeping the line tangle-free for years.
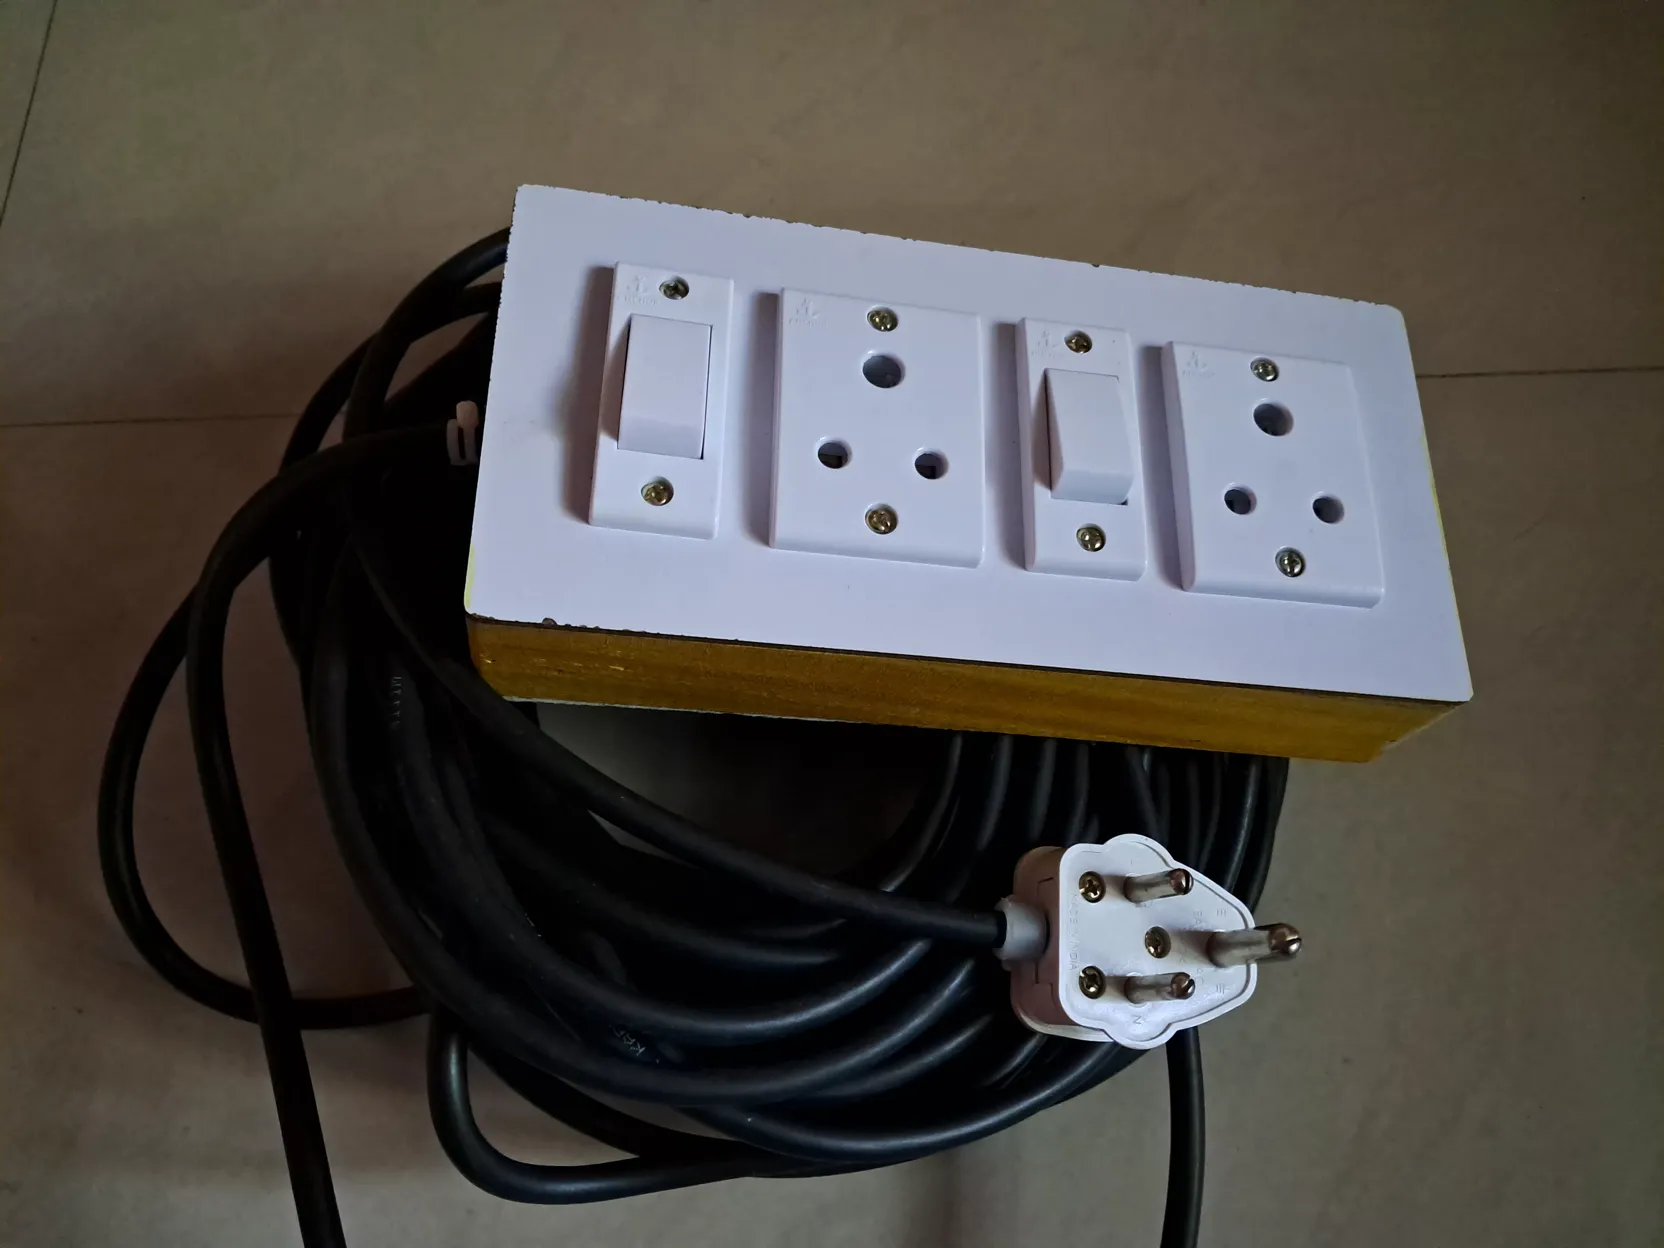
Before the plug went anywhere near a wall socket, I ran a multimeter in continuity mode across the whole build: each switch in both positions, to confirm it actually breaks the circuit instead of staying live regardless, and the line and neutral runs, to catch any swap before it turned into a surprise. Only once all of that checked out clean did the plug go into a real socket for the first time.